Camel TUI Getting Started
There are several ways to get going with the TUI: point it at integrations that already run, run one of the built-in examples, open a project directory, or connect an existing Spring Boot or Quarkus application.
See Camel TUI for the tabs, the keyboard shortcuts and the other pages.
Option 1: Your Own Route
Start a Camel integration in one terminal:
camel run my-route.yamlOpen the TUI in another terminal:
camel tuiThe TUI auto-discovers every running Camel integration on your machine — no configuration needed.
Option 2: Built-in Examples
Don’t have a route yet? The TUI ships with a catalog of ready-to-run examples. Open the TUI and press F2, then select Run an example:
camel tui-
Press F2 to open the actions menu
-
Select Run an example…
-
Browse the example catalog — type to filter by name
-
Press Enter to launch the selected example
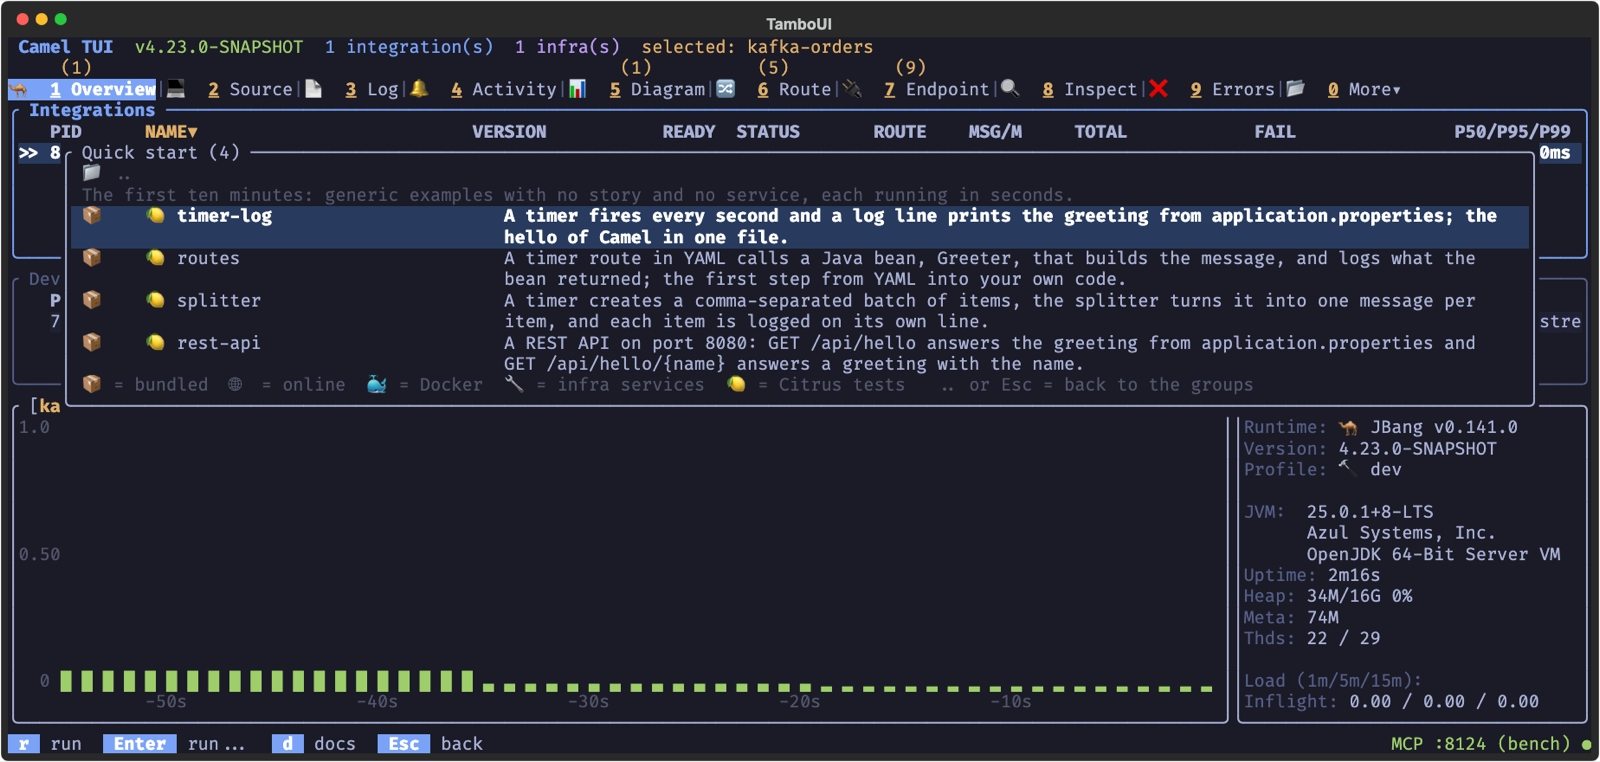
Before launching, a run options form lets you choose the runtime: Camel Main (standalone), Spring Boot, Quarkus, or JBang. This makes it easy to try any example on all three runtimes without changing a single line of code. The first three run the example in a separate JVM that only contains the dependencies of the example (like a production deployment), while JBang runs it in-process in the Camel CLI JVM, which starts faster but has the CLI on the classpath as well. You can also set the integration name, toggle dev mode, and add extra dependencies. When the port the app will listen on (the one you set, else 8080) is taken already, the form says by whom, so a second app with an HTTP server does not fail to start.
The example starts running in the background. The TUI auto-selects it as soon as it appears. From there you can explore tabs, watch messages flow, inspect the route diagram, and experiment.
If an example requires infrastructure (like Kafka or a database), the TUI automatically starts the required Docker containers before launching the example. A notification in the footer shows the progress.
The same runtime selector is available in Run from folder… (F2 menu), which lets you point the TUI at a local directory containing your routes. When a pom.xml is present, the runtime is auto-detected and locked to match your project.
| Press F1 or ? on any screen for context-sensitive help. Keyboard shortcuts are always shown in the footer bar. |
Option 3: Open a Project Directory
You can point the TUI directly at a project directory:
camel tui .
camel tui /path/to/my-project
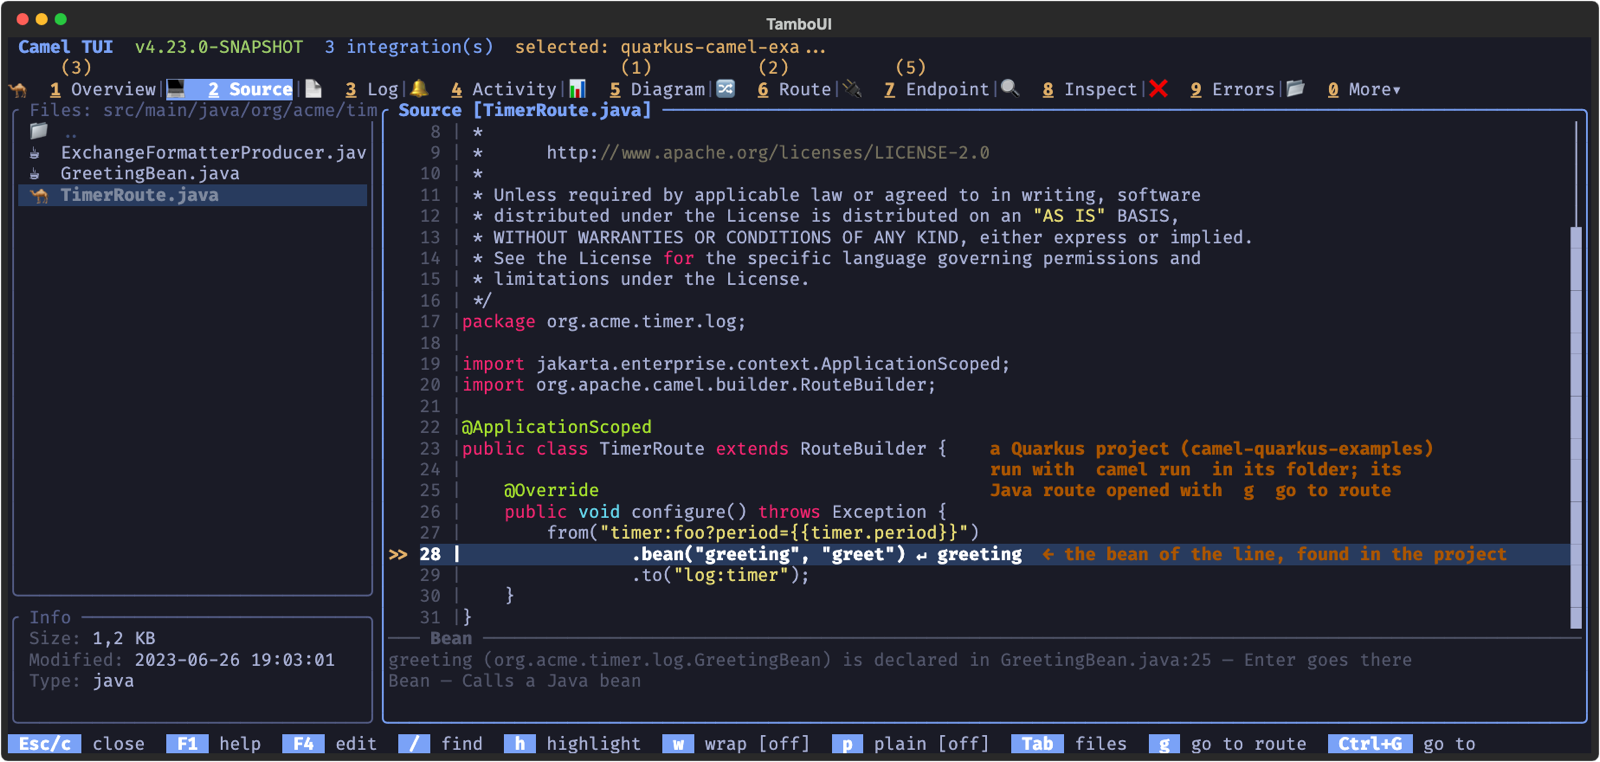
The TUI opens the directory in the Source tab so you can browse the project files immediately. When a pom.xml is present, the runtime is auto-detected (Spring Boot, Quarkus, or Camel Main). Press F10 to run the project — Maven projects are run with camel run pom.xml, which launches them with the appropriate goal (spring-boot:run, quarkus:dev, or camel:run), and plain directories are run with camel run. Either way the application logs to ~/.camel so the Log tab shows its logs.
Until it runs, the project is listed as Stopped: the Overview says what it is (runtime, Maven or route files, its folder) and the Source pane lists the routes it found and where they are, so g opens one. While it runs, the app takes its place under the name it gives itself, with the project’s name next to it; when the run ends, the project is back as Stopped and still selected.
This is a quick way to explore and run any Camel project without starting it separately first.
Connecting Existing Spring Boot and Quarkus Applications
The TUI auto-discovers integrations started with camel run. To monitor and control existing Spring Boot or Quarkus applications, add the camel-cli-connector dependency to your project. This is a lightweight runtime adapter that lets the TUI (and the Camel CLI) communicate with your application — all TUI features work the same way regardless of runtime.
Spring Boot:
<dependency>
    <groupId>org.apache.camel.springboot</groupId>
    <artifactId>camel-cli-connector-starter</artifactId>
</dependency>
Quarkus:
<dependency>
    <groupId>org.apache.camel.quarkus</groupId>
    <artifactId>camel-quarkus-cli-connector</artifactId>
</dependency>
Once added, start your application normally and the TUI will discover it automatically. No additional configuration is needed — the connector auto-detects on the classpath and registers the application with the local Camel CLI.
When you open a Spring Boot, Quarkus or Camel Main project via F2 > Open Project and run it with F10, the CLI connector dependency is automatically injected if it’s not already in your pom.xml. This means the TUI can monitor the application without modifying your project. |
See Managing Integrations for more details.